Top Posts
DIY Crochet Earmuff Patterns You’ll Actually Want to...
Pink Bow Baby Shower Theme
Table Cloth Bows for Baby Showers
Crochet Baby Bootie Centerpieces for Babyshowers
Free Haunting Handmade Item Caretag
What to Crochet for Halloween 2025
Tea Bag Gift Pouch
Scrappy Moss Stitch Coaster Pattern
The 20 Most Frequently Asked Crochet Questions Answered!
The Coolest Little Potholder Pattern
  • About
  • Crochet
    • Crochet Tips
    • Crochet Tools
    • Crochet Patterns
    • Crochet Printables
  • Crafting
  • Craft Organization
  • Contact Us
Hook and Paper
Make Something. You'll Feel Better.
Crochet

Crochet Temperature Blanket: A Creative Way to Document the Seasons

by Brandy Burke November 15, 2024

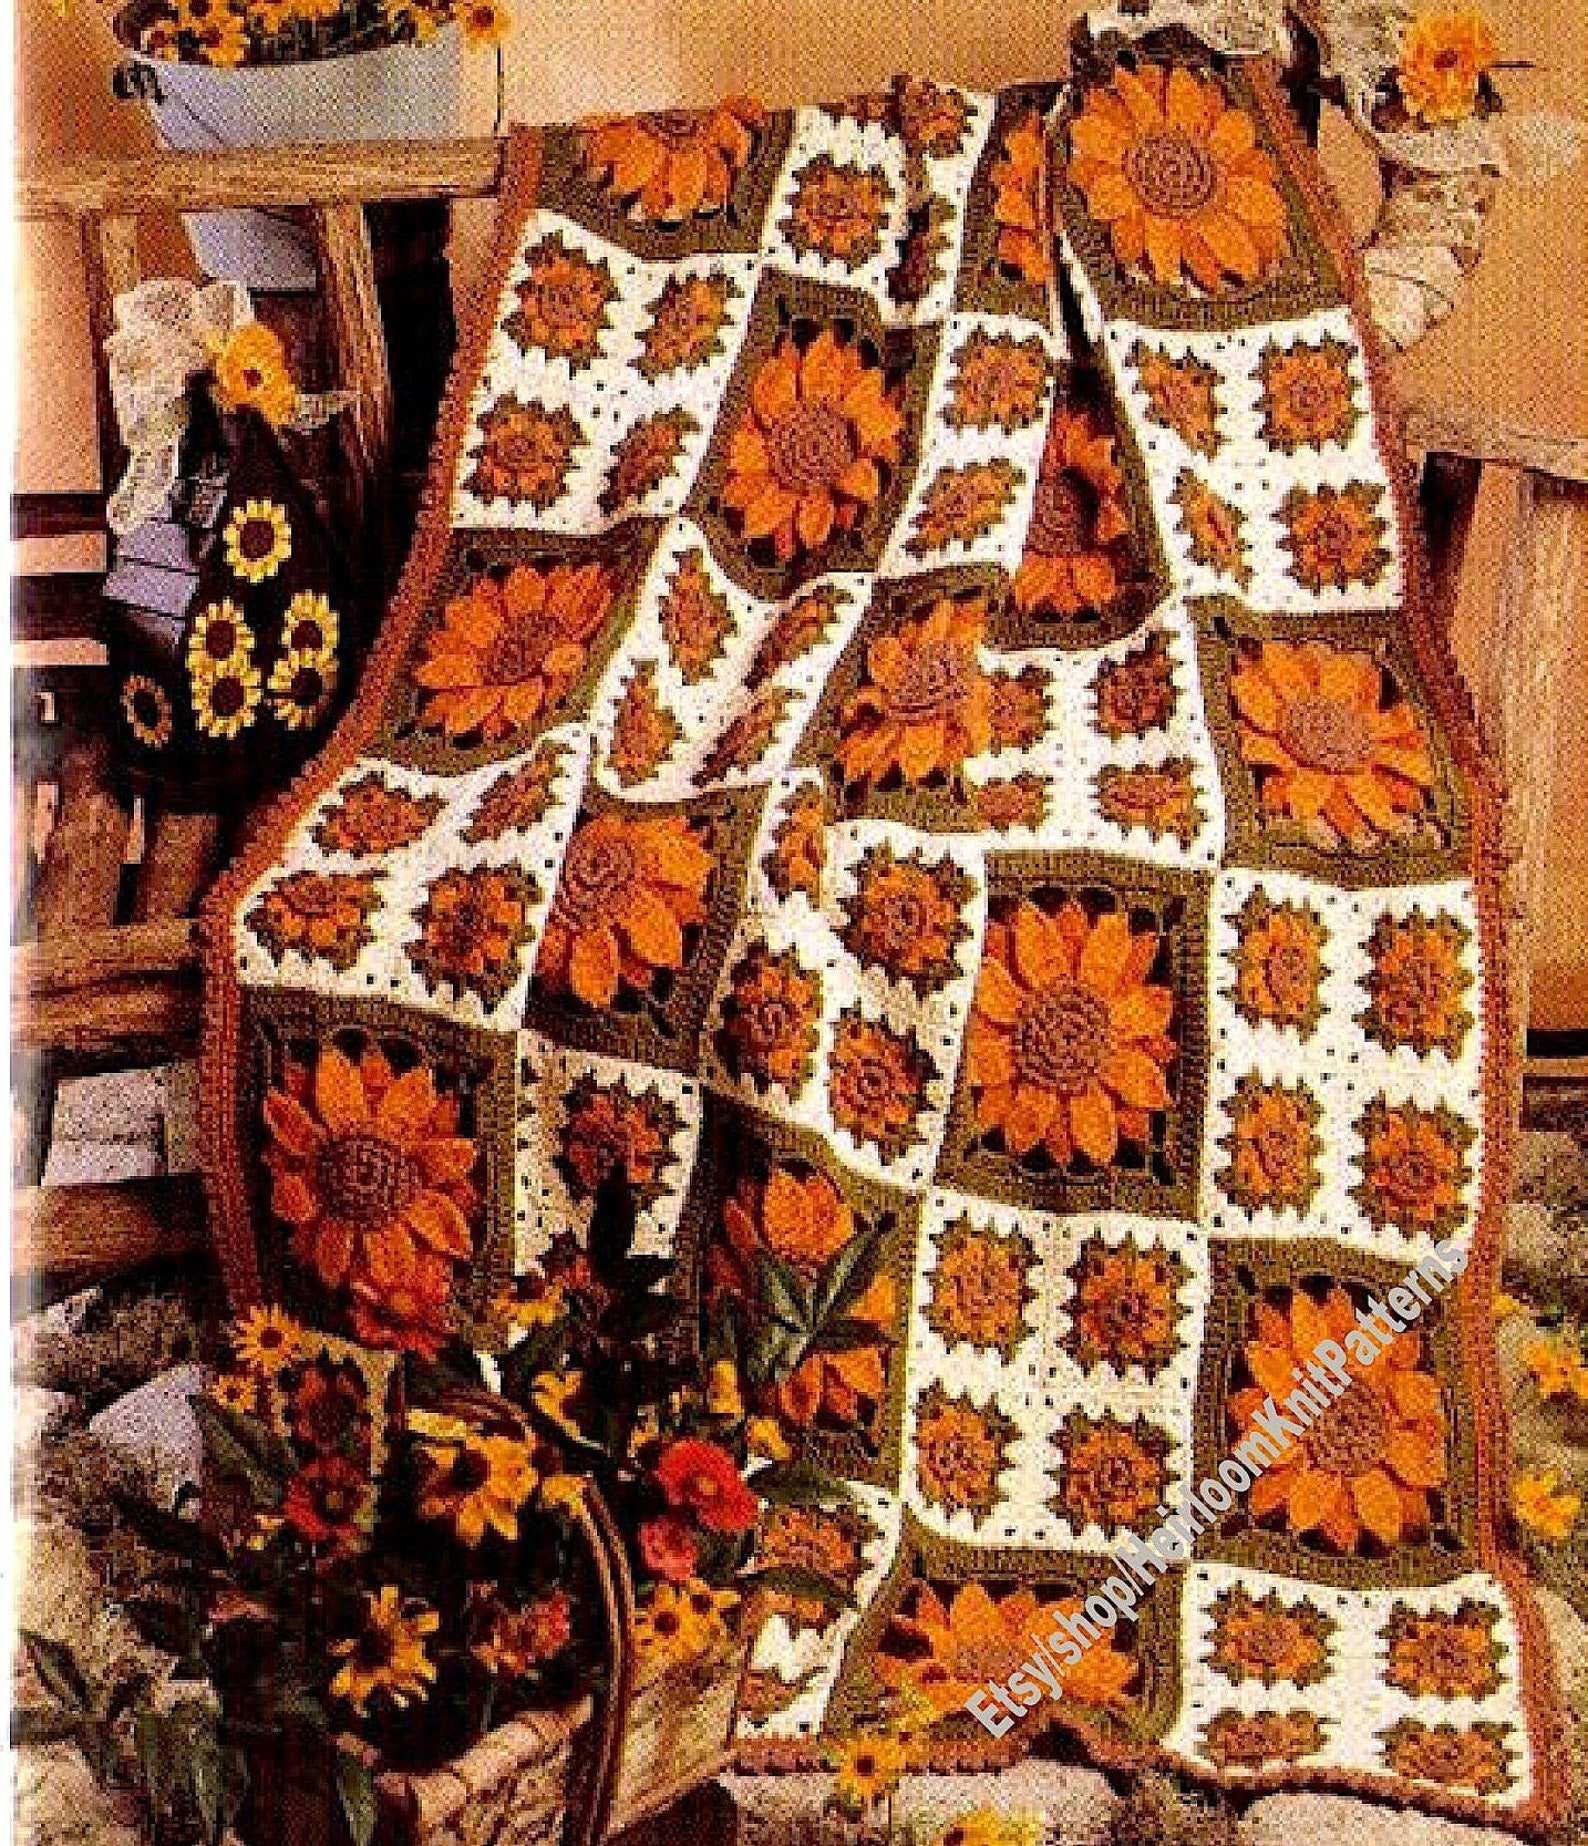
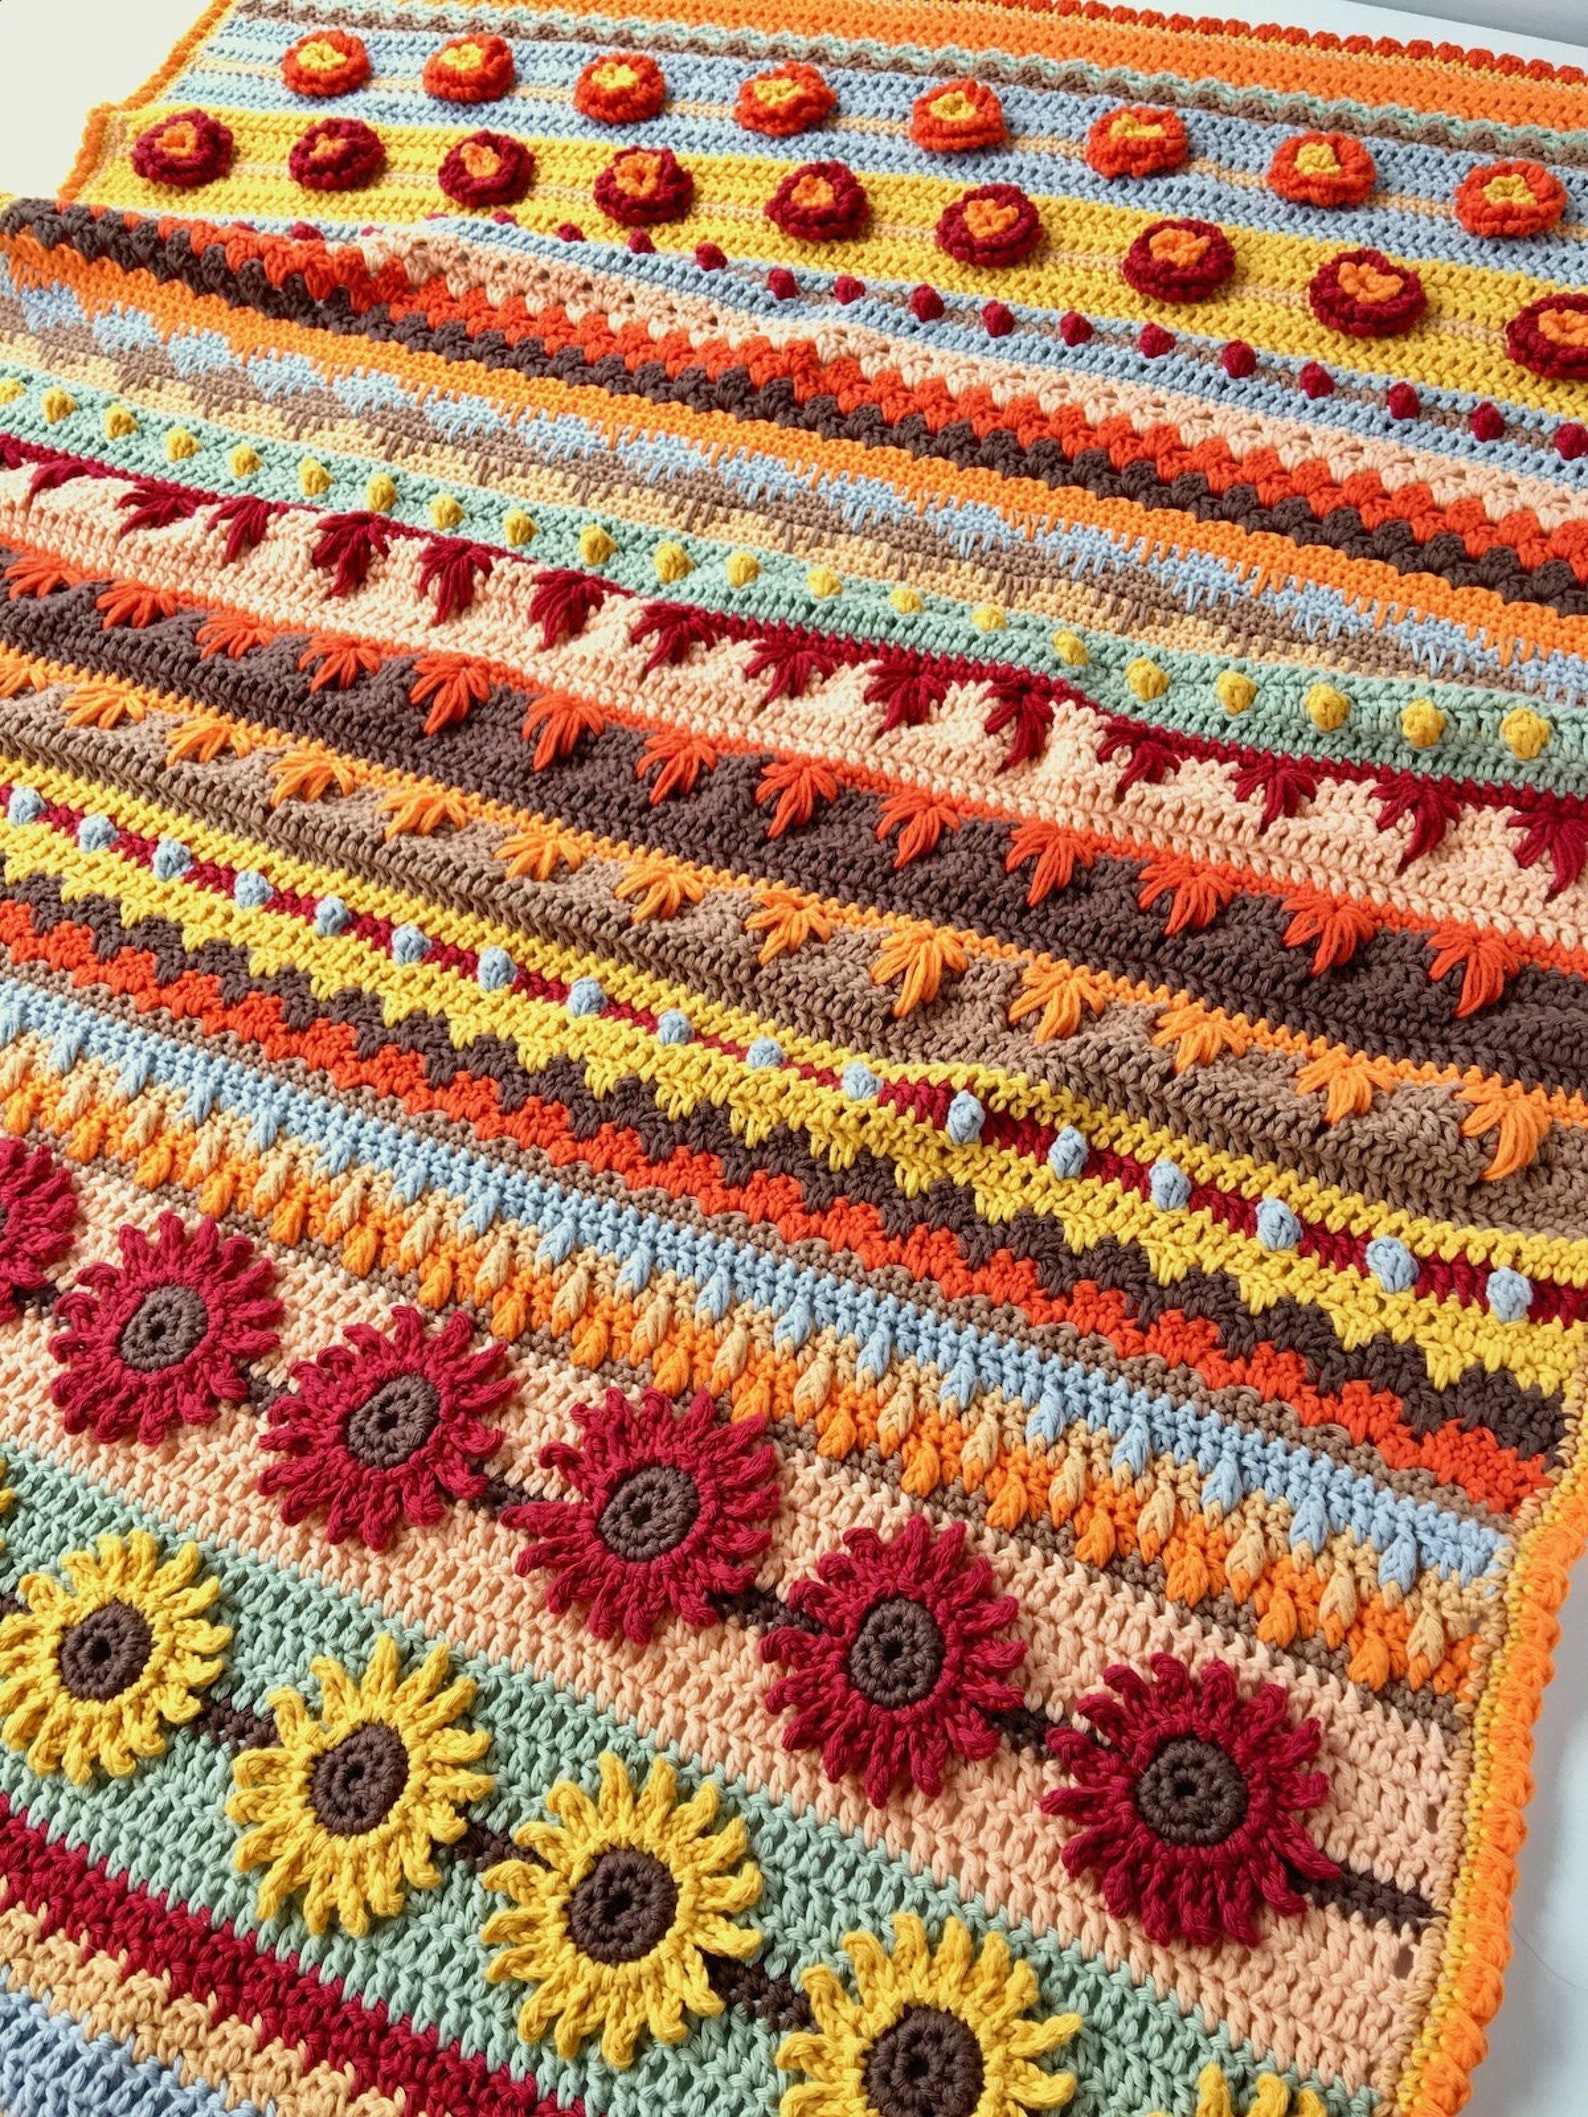
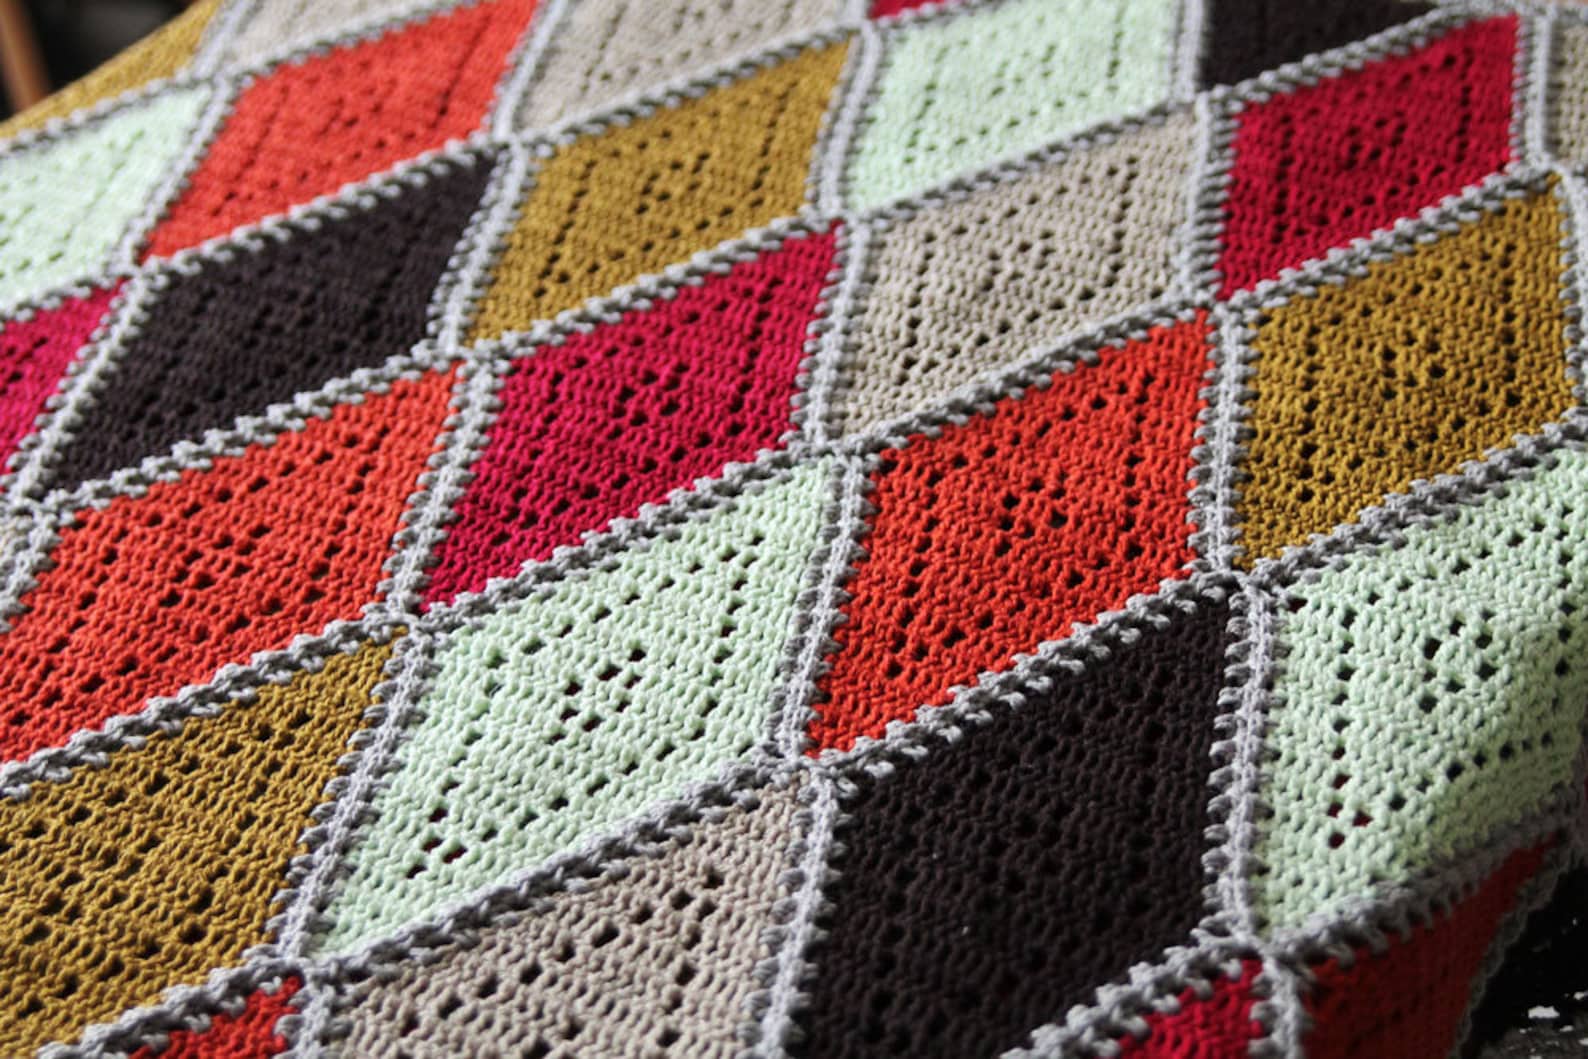
A crochet temperature blanket tells the story of a year through the language of color and crochet stitches – and while I wasn’t keen on documenting the weather before in such a permanent way, I’m definitely jumping on this trend this year to find out what all the hype is about.

A temperature blanket is a crochet or knit project where each row represents a single day’s temperature. The concept is beautifully simple: you choose specific colors to represent different temperature ranges, then crochet one row daily using the color that matches that day’s reading. As the year progresses, your blanket grows into a colorful tapestry of weather patterns.

Picture watching your blanket transform through the seasons – cool blues of winter mornings gradually giving way to warm yellows of spring, then vibrant reds of summer heat. It’s like creating a personal weather diary in yarn form.

I think this year-long project can be both a meditative crafting experience and a creative way to document the passing seasons. Each stitch becomes a small part of a larger story, making every temperature blanket truly one-of-a-kind.

Every page and post on this blog contains affiliate links. This means if you click on a link and make a purchase within a give time frame I may earn a small commission.

Understanding Temperature Blankets

As a bystander, I’ve found it pretty cool to watch my friends on instagram share their blanket progress, their blankets like a little weather diary, and each blanket different based on the pattern and color combination. 

Creating Your Temperature Chart

Here’s how to set up my temperature tracking system:

  • Record daily temperatures at a consistent time
  • Use reliable local weather data sources
  • Choose specific temperature ranges (usually 5-10 degree intervals)
  • Assign colors to each temperature range
  • Document both dates and temperatures for accuracy

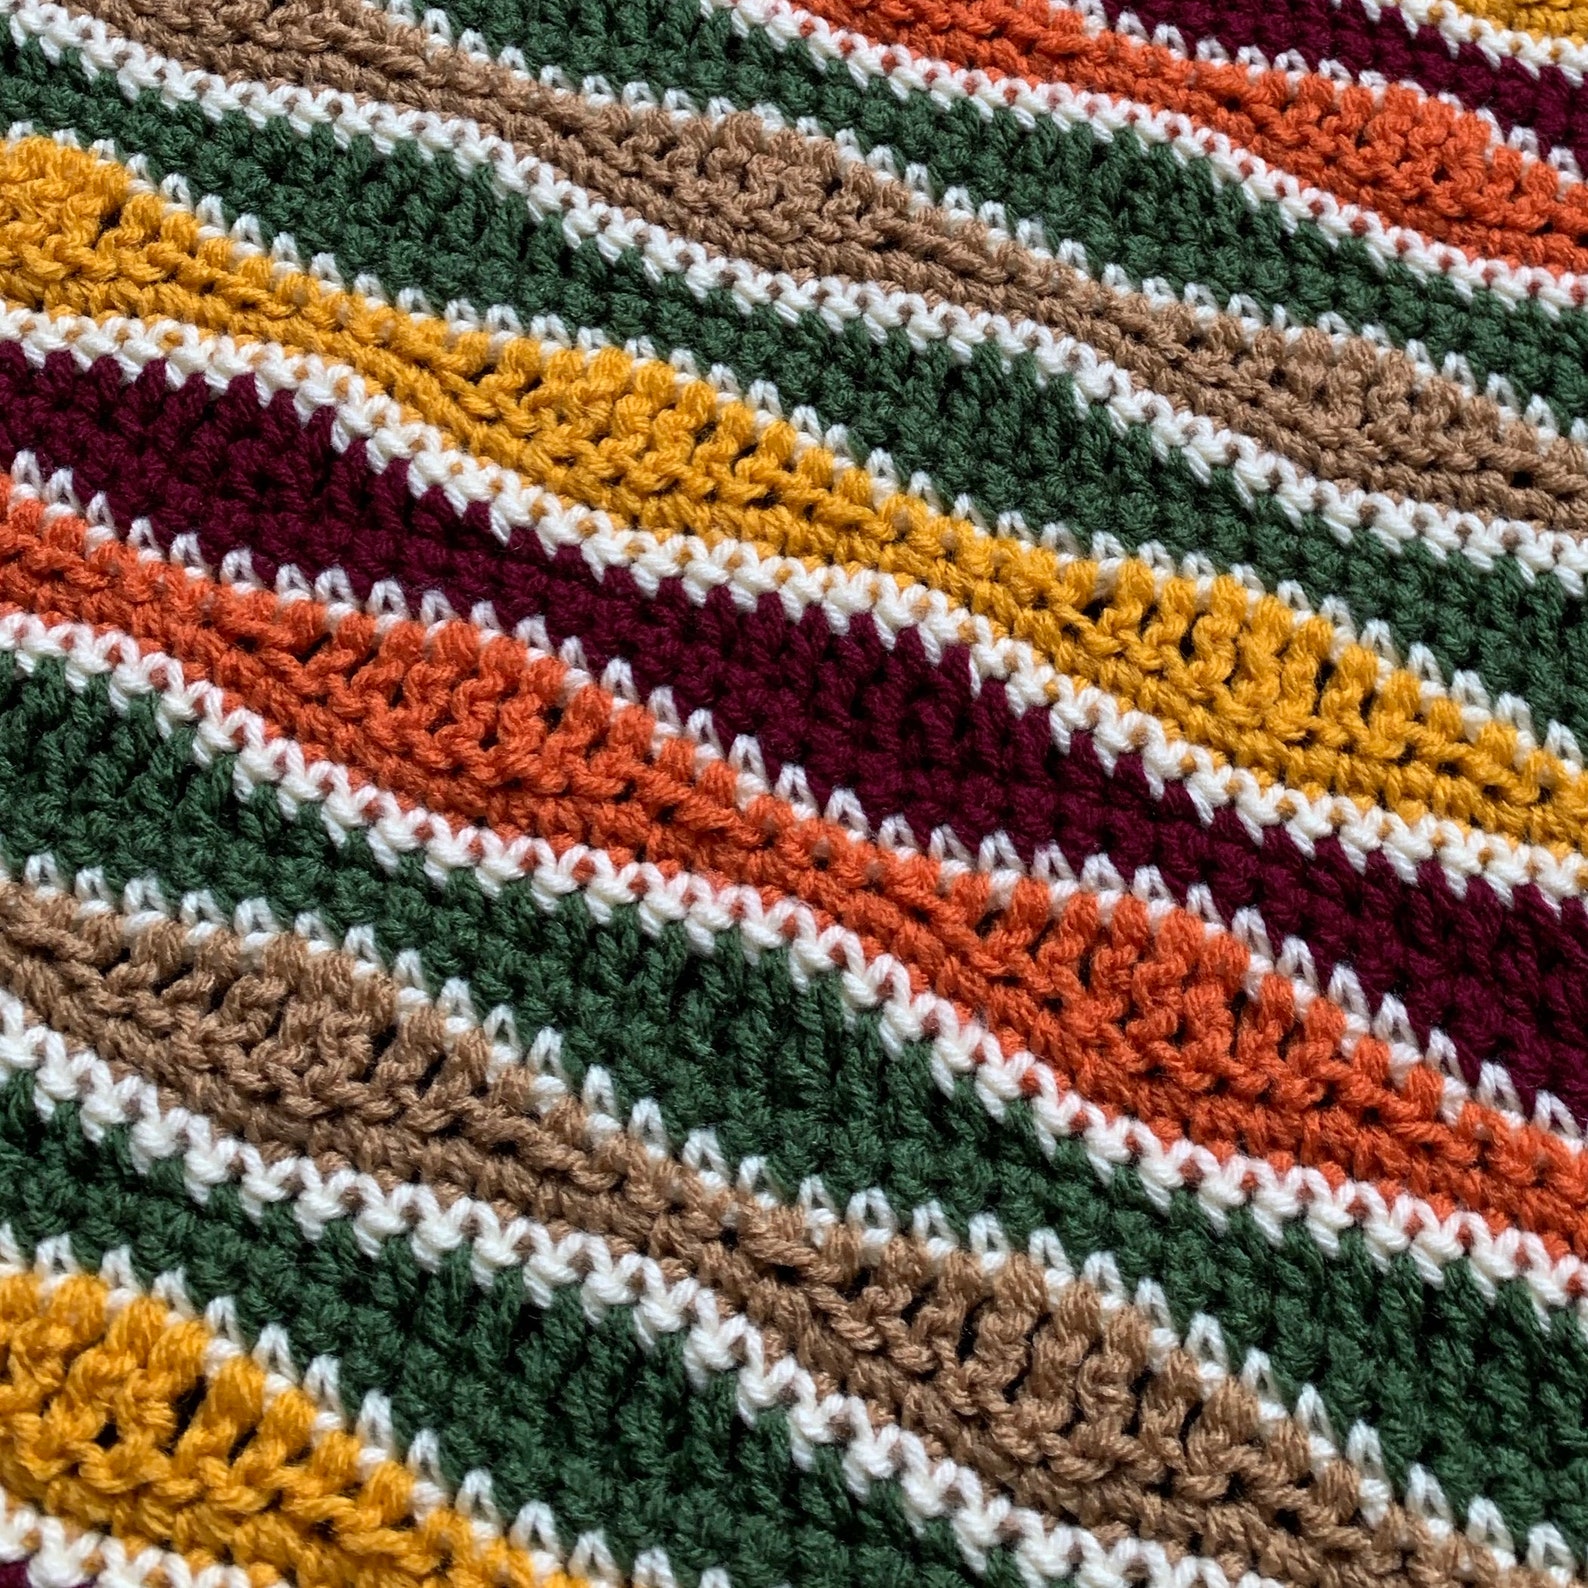
Color Coding Your Temperature Ranges

My favorite part of any crochet project is picking the colors. In this project, you  match colors to temperatures. Here’s a basic example of how to organize temperature ranges:

  • Below 32°F (0°C): Deep purple
  • 33-45°F (1-7°C): Navy blue
  • 46-59°F (8-15°C): Light blue
  • 60-73°F (16-23°C): Green
  • 74-85°F (24-29°C): Yellow
  • 86-95°F (30-35°C): Orange
  • Above 95°F (35°C): Red

The best part is you get to pick your own yarns and colors for this project, it will be very unique to you.

Getting Started with Your Crochet Temperature Blanket

I’ve found that starting a temperature blanket project requires careful planning and the right supplies. Here’s my tried-and-tested approach to getting your blanket underway:

1. Essential Supplies

  • Crochet hook (size H/5mm or I/5.5mm work best)
  • Yarn in your chosen colors
  • Stitch markers
  • Measuring tape
  • Project notebook
  • Printable Crochet Temperature Blanket Color Chart

2. Yarn Selection Tips

  • Choose the same yarn weight for all colors
  • Acrylic or wool-blend yarns maintain shape well
  • Calculate your yarn based on your crochet temperature blanket pattern – and be sure you buy enough.
  • Select machine-washable options for easy care

3. Basic Setup Steps

Choose a temperature blanket pattern – or if you want to just wing it with simple stitches:

  • Chain enough stitches for a comfortable width
  • Practice your chosen stitch pattern first

I’ve discovered that simple stitches like single or double crochet create the most consistent results. My personal favorite is the moss stitch – it creates a beautiful texture while working up quickly.

Remember to leave enough tail when changing colors between temperature ranges! A 6-inch tail gives plenty of room for secure weaving.

Establishing Your Color Palette

How to Choose Colors for a Temperature Blanket

Choosing colors for your temperature blanket is one of the most exciting parts—it’s where your vision for the project really takes shape! Start by thinking about the mood you want to capture: bright and cheerful, cool and calm, or even something earthy and natural. Then, consider the climate where you live. If you see a wide range of temperatures, you might want a broader color palette to capture each change, whereas milder climates could work well with fewer shades. I live in Oklahoma where we can see days of below zero temperatures and days of above 105 as well – I plan to break mine into 10 degree temperature blocks from zero and below to 105 and above. This means I will need 11 colors.  There will be some anomalies and learnings from this, I’m sure.

  • Rainbow Spectrum: Deep purples and blues (below 32°F), light blues and greens (33-50°F), yellows and oranges (51-70°F), reds and burgundies (71°F+)
  • Seasonal Pastels: Soft lavenders and mint (winter), light pinks and sage (spring), pale yellow and peach (summer), muted orange and dusty rose (fall)
  • Monochromatic Magic: Single color family (blues or purples), light shades for cold temperatures, dark shades for warm temperatures

I recommend using this free temperature blanket color chart printable.

 Remember to select colors with enough contrast to distinguish between similar temperatures – your blanket’s story should be clear at first glance. 

Daily Tracking and Organization

I’ve discovered that keeping track of daily temperatures is crucial for a successful temperature blanket project. Let me share my favorite tracking methods with you!

I recommend using my Temperature Blanket Temperature Tracking Printable

Download my free temperature blanket color chart printable.

But there are other viable options.

Traditional Notebook Method:

  • Create a simple calendar grid
  • Record daily temperatures 
  • Add notes about weather patterns or special events
  • Keep yarn samples taped to the pages for reference or use my Crochet Temperature Blanket Color Chart

Digital Tracking Options:

  • Spreadsheet templates (Google Sheets or Excel)
  • Weather tracking apps with historical data
  • Digital planners with temperature logging features
  • Phone notes 

While I can go and check historical weather at any time, tracking the weather manually makes this project feel particularly special and involved.

Pro tip: Take photos of your progress alongside your temperature records. To create a beautiful documentation of your blanket’s growth.

Tips for Staying on Track with Your Crochet Temperature Blanket Project

I’ve discovered that success with a temperature blanket comes down to creating sustainable habits. Here’s what works for me:

  • Set a dedicated “blanket time” – Reserve a day of the week, such as  Sunday afternoons for catching up on your temperature blanket rows. It can become a peaceful weekly ritual, paired with a cup of tea and your favorite podcast.
  • Break it into manageable chunks – Instead of letting rows pile up, aim to complete 2-3 rows each sitting. This approach prevents the project from feeling overwhelming.
  • Join a temperature blanket challenge – I participate in monthly check-ins with other crocheters on Instagram using #tempblanket2025. Sharing progress photos and cheering each other on makes the journey more fun.
  • Keep your project visible – Store my temperature blanket in a pretty basket next to your favorite chair. Or, use a project cart, like I do – this visual reminder helps me stay consistent with my crocheting schedule but I can also wheel it out of the way when company comes over..

Finding Support in the Crochet Community While Working on Your Temperature Blanket Project

There’s a vibrant community of crocheters ready to support your temperature blanket journey. The online crochet world offers endless inspiration and guidance through various platforms:

YouTube Channels

  • Step-by-step video guides for different stitches and patterns
  • Real-time progress updates from fellow crocheters

Social Media Communities

  • Instagram hashtags: #temperatureblanket #crochetcommunity
  • Facebook groups dedicated to temperature blanket projects
  • Pinterest boards filled with color scheme ideas

Online Forums

  • Ravelry’s temperature blanket discussion groups
  • Reddit’s r/crochet community
  • Local crafting Discord servers

These platforms create spaces where we share progress photos, troubleshoot challenges, and celebrate milestones together. I’ve found watching other crafters’ journeys through their temperature blankets particularly inspiring – it helps maintain enthusiasm and provides fresh perspectives on color combinations and stitch patterns.

Conclusion

I’ve seen many crafters turn their daily weather observations into beautiful works of art with crochet temperature blankets. Each blanket tells a unique story – your story. The joy of seeing your blanket grow day by day, watching the colors change with the seasons, creates a meaningful connection to the world around you.

Starting your own temperature blanket journey isn’t just about making something pretty – it’s about being patient, staying dedicated, and celebrating the little wins along the way. Your blanket will become a cherished keepsake, a physical reminder of a year in your life.

Are you ready to grab your hook and start tracking your local weather? Trust me – you’ll be amazed at what you can create, one row at a time. 🧶

FAQs (Frequently Asked Questions)

What is a crochet temperature blanket?

A crochet temperature blanket is a year-long project that creatively documents the changing temperatures throughout the seasons. Each row or square of the blanket represents a specific day’s temperature, using a predetermined color coding system.

How do I create a temperature color chart for my blanket?

To create a temperature chart, you first need to establish a range of temperatures and assign colors to each range. You can download this free temperature blanket color chart to use all year long. This color key will guide you as you record daily temperatures and determine which color to use for each day in your crochet project.

What type of yarn should I choose for my temperature blanket?

When choosing yarn for your temperature blanket, consider selecting yarn types that are comfortable and durable. It’s also important to pick colors that correspond to your established color palette. Look for acrylic or cotton yarns which are easy to work with and come in a wide variety of colors.

How can I stay organized while tracking daily temperatures?

You can stay organized by recording daily temperatures on my temperature tracker sheet or in a dedicated notebook or using digital methods like apps or spreadsheets. Choose the method that works best for you, ensuring it’s easy to update and refer back to as you progress with your blanket.

What tips can help me stay on track with my crochet project?

To maintain motivation and consistency in your crochet temperature blanket project, set aside regular time each week specifically for crocheting. Additionally, consider joining online communities or following tutorials from creators to gain inspiration and support.

Where can I find support while working on my temperature blanket?

You can find support through various online communities dedicated to crochet enthusiasts. Platforms like YouTube offer tutorials where you can learn more about creating temperature blankets and connect with others who share your passion.

0 comments
0 FacebookTwitterPinterestEmail
Crochet Printables

Temperature Blanket Color Chart Printable

by Brandy Burke November 15, 2024

Choosing colors for your knit or crochet temperature blanket is one of the most exciting parts – the anticipation of how the colors will come together is crazy. 365 days is a long time. A long time to crochet, and a long time to try to remember which color goes with what temperature. Please enjoy this temperature blanket color chart printable.

There are four options – a pre-printed one with a general temperature range and a blank one if you’d prefer to write in your own temperature ranges. There’s also two where you can also write in the yarn color. I used a hole punch and punched holes in mine (I left room for you to do so) and then laminated the printable and then punched through the holes again so I’m certain this baby is going to stick with me for a year.

If you don’t have a laminator, you could print on a sturdier cardstock and get something that will last.

Want this freebie? Enter your name and email address below and get instant access!

Subscribe For instant Freebies AND stay updated!

9
0 comments
0 FacebookTwitterPinterestEmail
Crochet Patterns

6 Unique Temperature Blanket Patterns

by Brandy Burke November 10, 2024

A temperature blanket is a cozy, year-long crochet journey where you create one row (or square) of the blanket each day based on that day’s temperature. By the end of the year, you’ll have a stunning, color-coded timeline that captures the seasons and unique weather patterns of your area. If you’re looking to add a twist to the classic concept, I’ve gathered some unique patterns to try! From playful gradients to geometric twists, these ideas can give your temperature blanket a truly personal flair.

I am an etsy affiliate. This means if you click one of the links in this post and purchase the pattern, I may make a small commission. I do this to support small handmade businesses by sending my readers their way and pay for the expense of this website.
  1. Months Crocheted Temperature Blanket by JulieIsCrocheting
    If there was an award for the most unique temperature blanket pattern, this one would win!
  2. Four Seasons, overlay mosaic crochet pattern, by CrochetHookCottage
    Features: Mosaic Crochet, Intermediate Skills
  3. Temperature Blanket: Whole Year by BrightBag
    Features: Overlay Crochet
  4. Temperature Blanket Crochet Pattern Lines and Stripes by CrochetHookCottage
    Features: UK and US Terminology
  5. C2c Squares, Crochet Temperature Blanket by Crochetbyjesslb
    Features: C2C Crochet, UK and US Terminology
  6. Temperature Blanket Squares Crochet Pattern PDF Digital Download by NHSugarandSpice
    Features: High and Low Temperatures for each day

Even if you don’t purchase a pattern from one of the incredible designers listed above, go give their listing a favorite!

Choosing Yarn for Your Temperature Blanket

When starting a temperature blanket, choosing the right yarn is the second step. Since you’ll be crocheting or knitting one row or motif for each day of the year, opt for a medium-weight yarn like worsted weight (category 4) to strike a balance between size and manageability. Lighter yarns like DK or sport weight can work well if you want a more compact finished blanket. Look for a yarn that’s durable, soft, and easy to care for—acrylic is a popular choice because it’s machine washable, affordable, and widely available in a huge range of colors. Using the same brand throughout helps keep texture and gauge consistent, which is especially important in a long-term project like this.

Choosing Your Colors

The fun part of a temperature blanket is choosing the color palette that will tell your story. Many crafters assign colors to temperature ranges—using warm hues like red, orange, and yellow for hot days, and cool shades like green, blue, and purple for colder ones. But you’re not limited to the rainbow! You can tailor your palette to match your environment (like sandy neutrals for desert climates or pastels for a coastal vibe), or choose a cohesive aesthetic using the color wheel—for example, complementary or analogous colors for a harmonious look. Just be sure to select at least 6–10 distinct colors to reflect temperature shifts clearly, and keep a key or chart handy so you can stay consistent throughout the year.

Creating a Swatch

Use my free downloadable color swatch for your temperature blankets!

0 comments
0 FacebookTwitterPinterestEmail
FreebiesUncategorized

Christmas Crochet Care Instructions Printable

by Brandy Burke November 9, 2024

You’re spending hours on those Christmas makes for friends and family (and hopefully yourself, too). Make sure they take real good care of your time and yarn investment with festive crochet care instructions. This freebie is available to all HookandPaper subscribers and when you subscribe, you also gain access to all of my previous freebies!

You  get 10 to a page and can print this as many times as you wish *for your own personal use*

Subscribe For instant Freebies AND stay updated!

0 comments
0 FacebookTwitterPinterestEmail
Crochet Patterns

Beginner Friendly Crochet Christmas Stocking Patterns

by Brandy Burke November 9, 2024

A few years ago I created a crochet stocking for everyone in my family, and I let them choose the colors. You may have seen this on my instagram or tiktok, I was really proud of it. The colors each person chose for their crochet christmas stocking weren’t Christmasy in nature, but it resulted in a visual representation of everyone in the family and I was quite proud of it. That same year I created a Christmas Tree with only crochet ornaments.

The very next year my daughter asked me to crochet stockings for her and her husband – it was their first Christmas together, and I was honored. I chose a different pattern to make theirs unique for their home.

I’ve listed both of those patterns I have tried here along with other patterns I either love, purchased, or at least considered. I consider them beginner friendly even though one of them has a more intermediate concept because the patterns are written to be beginner friendly, not because the stitches are necessarily that way.

I am an etsy affiliate. If you click on an etsy link and purchase the product, I may receive a small commission.

Crochet Stocking Patterns

  1. Bobble Stocking Pattern by A Crafty Concept – this is the stocking pattern I used to make each of my family members their own colorful stocking. I was able to make one stocking per day over the course of a week – it comes together really quickly.
  2. Granny Hexi Stocking by OriginalLovely – this is the stocking pattern I used to create my daughter and her husband their stockings for their first Christmas together in their new home.
  3. Basket Weave Stocking by Sonoma Oak Designs – I love this stocking pattern because it is made up of a stitch that looks super sturdy – and if you’re like me and love to stuff your crochet christmas stockings to the brim, you know sturdiness is a good thing to factor in.
  4. Fabulously Festive Christmas Stocking by Gleeful Things – I love the interest that the different stitches offers to this pattern – it contains the puff stitch which will always reign among my favorites.
  5. Hexagon Stocking by Passionate Crafter  – you’ve seen the hexagon cardigan, this stocking takes the same concept only smaller and you can hang it on your mantle 😀
  6. Granny Square Stocking by Joann – What’s a good round up without a granny square crochet pattern?

How to Pick a Yarn for Crochet Stockings

When choosing yarn for crochet Christmas stockings, look for sturdy, medium to bulky weight yarns that will hold their shape when hung and filled. Acrylic yarn is a popular choice because it’s affordable, widely available in festive colors, and easy to work with—but it’s important to note that most synthetic fibers, including acrylic, are flammable. Natural fibers like wool or cotton can offer a more classic look and better heat resistance, but they may be more expensive and require more care. Since stockings are usually decorative and not exposed to open flame, the risk is low, but always keep them away from fireplaces or candles just to be safe. Choose a yarn that’s soft yet durable, with good stitch definition to make your holiday designs pop. Be sure to reference the pattern you’re using for yarn recommendations to ensure your stockings turn out as expected.

Have some fun with color coordination

To kick it up a notch, go all out and make some crochet christmas ornaments and a crochet christmas skirt using the same colors and yarn as your stocking to really bring everything together.

0 comments
0 FacebookTwitterPinterestEmail
CraftingSewing

DIY Rag Wreath – Fabric Wreath Tutorial

by Brandy Burke October 31, 2024

During shut down, I bought the best beginner’s sewing machine and taught myself to make fabric masks. You know I’m a project jumper, so once I felt I’d mastered the technique, I was on to other things, but left with lots of little fabric remnants which lead to the perfect craft: DIY Rag Wreath.

I actually read several tutorials and I’m going to be straight with you – there’s one reason I decided to share this with you, among all the others out there on Pinterest – and that was the hopes that it would give you the permission to excuse the rules.

I’ll explain more in a minute.

DIY Rag Wreath Supplies

  • About 1-2 total yards of fabric in various colors and patterns
    Note: I also threw in some various ribbons that I had remaining from projects.
  • Wreath frame (mine was 16″)
  • Fabric Scissors or a rotary cutter and a self healing mat

First rule we’re breaking — who cares if the fabric coordinates. I mean, maybe you do care and if you do, or you have a specific intention in mind, then by all means – but some many tutorials speak of coordinating the fabric and I’m over it. You start adding rules to my crafting and I’m not interested 😀

Step 1: Cutting Fabric

Cut your fabric in squares ranging from about 5″ to about 8″ long. Other tutorials say to cut 8″ strips but I wanted mine to actually look raggedy and I admired the variation in length. From these 5-8″ long fabric strips, cut a notch at 1/2 – 1″ (ISH” ” increments (second “rule” we’re breaking) – 1/2 to 1 or even 2″. it’s really up to you.

Step 2: Tearing Fabric

From that, tear your fabric in strips (third “rule” we’re breaking – others say to cut it all nice and neat with a rotary cutter, heck no, I want the ripped, jagged edges and wads of string that give this the most beautiful, rich texture. If that’s not your style it’s okay to just cut it into strips, it’s your wreath and there really are no rules here.

Step 3: TieFabric

Next, just tie all the fabric on around the wreath. I didn’t really work in order, I didn’t want too much “pattern” to it – I wanted it to be unique, unable to be perfectly replicated, and in the end, it definitely turned out to be special.

Mix It Up a Bit

I could definitely see doing one of these for various Holidays like red and green for Christmas or red, white, and blue for Independence Day. I think it would also be really neat to do one in all of the colors of the rainbow in order. You could also tie it into other themes like purple and yellow for a Friend’s Themed party.

0 comments
0 FacebookTwitterPinterestEmail
Crochet Tools

How to make Dyed Plarn

by Brandy Burke October 31, 2024

I probably never would have tried Dyed Plarn but, pandemic made me do it. While in the quarantine, we’ve been having to order our groceries through Shipt. I’m so thankful for the service that allows me to stay home and have my groceries delivered to my door – but the one caveat to that is that the groceries arrive in plastic bags. I can’t very well ask them to come to pick up my reusable bags before shopping 🙂

This has led to a big wad of plastic bags in the pantry and a big pit of guilt in my stomach. Several of our local stores “recycle” plastic bags, but I’m always a little hesitant to believe that everything I drop in my bins (or take back to the store) actually gets repurposed into the world. This comes from working for a trash corporation many, many years ago.

I’ve always wanted to try to make plain, but I shop at stores that have plain white bags with obnoxious logos on them – and honestly, who wants a rug or a scarf or a weird plarn bowl that says “save 24 hours a day” on it…

So I set out to add some color, doing a bit of research first and I double heart eyes how it turned out.

What is Plarn

Plarn is plastic bags cut into strips, tied together in a long strip, and used as yarn. You can crochet, knit, or even sew with plarn.

How To Make Dyed Plarn

Links below are affiliate links. This means if you click the link and purchase the product, I may receive a small commission.

What you need to make Dyed Plarn

  • Plastic Bags (I had 20. I’m not kidding. Don’t judge)
  • Permanent Markers (go for these, they gave me tons of colors!)
  • Rotary Cutter
  • Ruler
  • Cutting Mat

How to Dye Plarn

Step 1: Color Plarn. I always set out jolly on a project and then realize about 10 minutes in that I’m ready to be done with it. Can you relate? With 20 white plastic bags and 50 markers staring at me, I thought it would take hours upon hours to color them – but it didn’t. I think I got them colored in about one hour.

Instead of fully coloring a bag (which I’m sure you can do for a much different result) I scribbled a tight wavey line horizontally across the bag making three to four different colors on a bag – be sure to flip it over and do the back as well as the sides of the bag (but hey, if you forget this step, no one will be able to tell, it will just cause a portion of your plarn to be white.

Step 2: Dry Plarn. I set all of my bags to the side to dry and allowed them to dry an hour or so just to be sure I wouldn’t be a painted person once I was finished working with the pieces.

How To Cut Plarn

Once everything was colored and very dry, I set out to cut the plarn into strips so that I could join it into a big ball of plastic fun.

Step 3: Cut Plarn. Start by folding your sides in, the way that the bag naturally folds. Don’t worry about everything being in perfect alignment, it’s not going to happen, and you’re not going to notice.

Next fold the bag in half vertically, and then in half again and smooth the bag out (there’s a lot of air in them still).

Trim the bottom seam and the handles off of the bag. This pained me because I didn’t have a use for them, but in the end, it was a fraction of the waste and I was reassured by that.

Finally, I just sliced the bags in one-inch pieces all the way down the bag.

Joining Dyed Plarn

Step 4: Making a plastic bag yarn ball. In the end, you’ll be left with hundreds of 1″ loops of colored plastic. Sounds fun, right? Some people cut these loops to make one long strip by plastic bags are thin and I wanted a bit more substance, so I kept them as loops to add more substance. Take the two loops and overlap them, then create a knot.

Now, while binging your favorite Netflix show, you just sit and knot all the yarn together, and roll it into a nice big, beautiful dyed plarn ball.

Great. Now, What Can I Use Plarn For?

Plarn can be used for nearly anything you’d use regular yarn for, but I can’t imagine wanting plarn socks or a plarn sweater. I’ve listed some of my favorite ideas below.

  • Plarn Rug
  • Plarn Bowl
  • Plarn Waste Basket
  • Plarn Place Mats
  • Plarn Table Runner
  • Plarn Storage Bin
  • Plarn Tote Bag
  • Plarn Plastic Bag Holder (I love this irony)

0 comments
0 FacebookTwitterPinterestEmail
Crochet PatternsLook

Owl Crochet Mug Cozy

by Brandy Burke October 31, 2024

I love how this little crochet owl mug cozy pattern (hodgepodge pattern, I should say) turned out.

I used pieces from a couple of patterns to make it the way I wanted – and though I made it for a gift, I may just have to selfishly keep it all to myself.

Except I don’t drink coffee. Not even a little. Can’t stand the way it smells, can’t stand the way it tastes, dark, light, sweetened, straight – I just plain do not like it.

But I like tea – so I could use it for my tea – except I don’t like hot tea – so I guess back to plan A – it’s a gift 🙂

Crochet Owl Mug Cozy Pattern

Materials

Affiliate Disclaimer
  • Size J Crochet Hook

You can use any colors you wish – it takes so very little of each color that I just used tiny amounts from my stash which included – however if you start with new materials below, you’ll have enough to make 8-10 crochet owl mug cozies.

  • Sugar and Creme Hot Pink Cotton Yarn
  • Sugar and Creme Mod Green Cotton Yarn
  • Sugar and Creme Black Cotton Yarn
  • Sugar and Creme White Cotton yarn
  • Sugar and Creme Blueberry Cotton Yarn

For the Cozy

Chain 21

Join with SLST

Row 2-5, Ch1, HDC in each stitch around, join with slip stitch

On last row, do not CH1 after joining, fasten off.

I made mine two-toned and did row 1-3 in mod green and row 4-5 in a light pink color that I dont have the name of.

For the Eyes

We’ll be working in the round for the eyes

Using the black, make a magic ring and Ch1
Make 6 SC in the circle and join with a SLST.
Join the blue and CH1, make 2HDC in each stitch around, SLST to join.
Join the white and CH1, SC in first stitch, 2SC in next stitch. Repeat around. Join and fasten off.

For the Beak

Chain 5

SC in 2nd Ch from hook and in each stitch, fasten off.

Sew all parts together and weave in ends.
For the eyes, I also sewed a couple of stitches between the two eyes, mostly to cover up a snafu, but I kind of like how it turned out.

Seriously, a 20 minute project – Enjoy

Here is where you can find the mug printable that my cozy is resting on.

0 comments
0 FacebookTwitterPinterestEmail
Craft OrganizationLook

Everything To Know about Storing Acrylic Paint

by Brandy Burke October 29, 2024
Links on this site may be affiliate links. That means if you click the link and purchase the product I may make a small commission).

How to Store Acrylic Paints

​I don’t even paint a lot, but before I knew it, I had bottles and bottles of acrylic paint everywhere. I needed a few colors for one project, and while I was there, some other varieties were on sale. Before long they were in many nooks and crannies in the studio. I did a lot of research on how to store acrylic paints and I’ve finally found the solution (that allows me to still buy more paints if needed!) I’ll share a lot of different ways to store paint as well as all of the temperatures, procedures, and other things you might be wondering.

How Long Can You Store Acrylic Paint?

​When stored properly in air tight containers in a maintained environment, your craft paints can last anywhere from 2-8 years – this does vary depending on brand of paint, how often it’s opened and exposed to air, and any changes in the environment

What’s the Best Temperature and Humidity for Storing Acrylic Paint?

​If you’re a crafter with a small to medium sized stash of craft paints, you’re probably not concerned with a few of them clumping up, but if you have a large collection or depend on the use of these paints for your income, you may be concerned about the overall environment. When it comes to storing acrylic paint, the right temperature and humidity levels play a crucial role in preserving its quality and longevity. Ideally, acrylic paint should be stored in a cool environment, with the recommended temperature hovering between 60°F and 75°F (15°C to 24°C). Extreme heat can cause the paint to become too runny or dry out completely, and excessively low temps may lead to separation and clumping.

Humidity is another factor that can impact the integrity of acrylic craft paint. A relative humidity level of around 40% to 60% is ideal for storing acrylics. Higher humidity levels can lead to mold growth or deterioration of the paint, whereas low humidity can cause the paint to dry out too quickly. You can check the humidity of your space with a hygrometer like this one. From there, ssing a dehumidifier in overly moist environments or placing desiccants in storage areas can help manage humidity and create a conducive atmosphere for paint preservation.

Should You Clean Your Paint Tubes or Bottles?

​So that both flip top and screw top lids close securely to keep paints from drying out, I always wipe the top of my paint bottles before closing and putting them away after a crafting session.

I also routinely shake all of my stored acrylic paint bottles well to keep them from separating and clumping – I’ve joked that it would be nice to be able to hire someone to do this for me on a monthly basis.

Where Should I Store My Paint Tubes or Bottles?

​It’s also essential to consider how paint is stored, in addition to temperature and humidity. Paint should be kept in airtight containers to prevent unwanted moisture and air exposure, which can speed up the drying process. For artists who regularly use acrylics, storing the paint in a temperature-controlled room or a dedicated art supply cabinet can help maintain optimal conditions. For crafters with less invested or smaller spaces, continue reading for some great options

SANFURNEY 49 Holes Craft Paint Storage Organizer Vertical Paint Rack Stand for Apple Barrel, Folkart -2oz Craft Paints, Wall-mounted

Wall Mounted Craft Paint Storage

Features

  • Wall mounted or table top
  • Side Storage
  • Minimal Space
  • Holds 49 bottles

View on Amazon

Hex Hive 2.0 Storage Organizer 100 Piece Set for Craft Paint, Salon Haircolor, Tattoo Ink and More Made in USA

Hex Hive

Features

  • Wall Mount
  • Side Storage
  • Bulk Storage (100 bottles)

View on Amazon

Vowcarol Acrylic Paint Storage Box for Apple Barrel Acrylic Paint, 30 Bottles Capacity Acrylic Paint Organizer for 2 fl. oz Acrylic Paints, Craft Paint Organizer

Storage Box

Features

  • Portable
  • Upright Storage
  • Holds 30 bottles

View on Amazon

Vowcarol Clear Acrylic Paint Organizer 7 Tiers, Model Paint Organizer Miniature Paint Holder 7 Layers Paint Storage Rack, Craft Paint Organizer Rack

Stadium Style

Features

  • Tiered storage
  • Table Top
  • Holds 57 bottles

View on Amazon

0 comments
0 FacebookTwitterPinterestEmail
Crochet Patterns

Fall Crochet Blanket Patterns

by Brandy Burke October 17, 2024

As the air turns crisp, is there anything cozier than wrapping yourself in a handmade blanket with a cup of cocoa and Gilmore Girls on the TV? This roundup of fall crochet blanket patterns captures the warmth and beauty of the season, with rich textures and autumn hues. But what’s really exciting is the versatility these patterns offer. With just a simple change in color selection, these blanket patterns can be used to suit any season or color palette in your home.

I am an Etsy Affiliate. That means links on this page are affiliate links and if you click the link and make a purchase within a specified timeframe I will earn a small commission.

Autumn Garden Afgan pattern by HeriloomKnitPatterns
This vintage pattern from the 1980s brings together large and small sunflower squares into an exquisite throw.

♥

Autumn themed Stitch Sampler Blanket Pattern by NanasCraftyHome
A Fall themed stitch sampler blanket that has amazing mum and sunflower stitches among others to will bring texture and the colors of autumn to your room.

♥

Rocky Pines Throw by by SweetPeaandSparrow
This oversized throw is the perfect stash buster or could be an awesome temperature blanket!

♥

Granny Square Throw by PatternPrincessEtsy
A solid granny square blanket pattern that will look great in your favorite fall colors. The designer’s choice of pumpkin spice color hits the spot!

♥

Crochet Plaid Throw by GhostOrchidStudios
Everyone loves plaid and this graph and pattern brings it together in the perfect autumn throw

♥

Spicy Diamond Crochet Blanket by HaakmaarraakNL
Diamonds within diamonds give this blanket a soft, airy feel

♥

C2C Autumn Leaves Blanket by MileyCrochetShop
Beautiful large maple leaves come together in a corner to corner crochet blanket

♥

Fall Colors Crochet Blanket Pattern by TigerRoadCrafts
This blanket is an attention grabber and great for all levels of crochet.

♥

Grab a crochet hook and enjoy bringing in Fall with a new crochet blanket!

If you’re looking for even more Fall Decor for your home, check out Etsy’s Fall Decor Essentials – an easy way to shop for everything you need for Autumn from crafting to hosting!

0 comments
0 FacebookTwitterPinterestEmail
Newer Posts
Older Posts
Dishie yarn by Crochet.com

Recent Posts

  • DIY Crochet Earmuff Patterns You’ll Actually Want to Wear
  • Pink Bow Baby Shower Theme
  • Table Cloth Bows for Baby Showers
  • Crochet Baby Bootie Centerpieces for Babyshowers
  • Free Haunting Handmade Item Caretag

Recent Comments

  1. Joyce Melonson on Small Crochet Granny Square Earrings
  2. Crochet For Cancer Printable - on Crochet Chemo Caps
  3. The Best Yarn Storage - on Craft Room Tour
  4. My Best Yarn Tips - on Free Work in Progress Notes Printable
  5. My Best Yarn Tips - on Yarn Bowl Alternatives

Subscribe For instant Freebies AND stay updated!

Hook and Paper is a participant in the Amazon Services LLC Associates Program, an affiliate advertising program designed to provide a means for sites to earn advertising fees by advertising and linking to amazon.com. “This site uses cookies from Google to deliver its services and analyze traffic. Your IP address and user-agent are shared with Google along with performance and security metrics to ensure quality of service, generate usage statistics, and to detect and address abuse.”

Facebook Twitter Youtube Linkedin Envelope Rss

Useful Links

    • Work With Us
    • Contact Us
    • Collaboration
    • Adverstising
    • Privacy Policy
    • Feedback
    • Terms of Use

Edtior's Picks

DIY Crochet Earmuff Patterns You’ll Actually Want to Wear
Pink Bow Baby Shower Theme
Table Cloth Bows for Baby Showers

Latest Articles

DIY Crochet Earmuff Patterns You’ll Actually Want to Wear
Pink Bow Baby Shower Theme
Table Cloth Bows for Baby Showers
Crochet Baby Bootie Centerpieces for Babyshowers

©2024 Hook and Paper

  • About
  • Policies
  • Affiliate Disclosure
  • Contact Us
  • What is Crochet
Hook and Paper
  • About
  • Crochet
    • Crochet Tips
    • Crochet Tools
    • Crochet Patterns
    • Crochet Printables
  • Crafting
  • Craft Organization
  • Contact Us